Showing posts with label jewelry. Show all posts

Tuesday, July 4, 2023

A Fragrant Fourteenth Birthday Present


Back in 2012, one of my knitting projects was a red worsted cardigan. The yarn I used for it came from a red hoodie I'd made circa 2010 and only worn a few times because I found it too bulky and unflattering. I thought I'd get more wear out the cardigan. However, this proved not to be the case because the cardigan's collar didn't sit right and the sleeves were too long. I always meant to fix those things, but never got around to it. One day in the fall of 2022 as I was tidying up my sweater cupboard, it struck me that rather than fixing that sweater (which, after all, I didn't need) I could take it apart and use the yarn to make something I would otherwise have to spend money on: a sweater for my grandniece Cauliflower's 14th birthday present this summer. The red would suit Cauliflower quite well, the sweater(s) had been so little worn that the yarn was still good as new, and I'd be sure to have enough given that I was going to be going down two sizes and had an untouched 100 gram skein of the yarn in my stash to boot.


I searched Ravelry for a suitable pattern for the yarn and came up with the Cabled Yoke Pullover, from Patons. It's classic enough to be a safe choice and detailed enough to be interesting, and also a free pattern. 


The construction of the sweater was rather interesting. The patterns says to knit the cable shoulder strip first, seam it together at the ends, pick up stitches around the top of the cabled strip to make the collar, then pick up stitches at the bottom of the cabled strip to knit the body of the sweater. My version, which I made in a women's size extra small/small, knitted up relatively quickly and without incident, and I was contented with the result. This sweater used up 673 grams out of the 900 grams of red worsted I had started with. 

And then I realized I still had 227 grams of the red yarn left. What should I do with it?


Two hundred and twenty grams is more than enough to make a hat, and I thought Cauliflower might like a matching hat for her sweater, so I searched Ravelry for a suitable tam pattern in worsted. I looked specifically for a cabled design that would work with the pullover. I chose the Sweet and Slouchy Hat, designed by Kim Haesemeyer. I was able to check a copy of the book the pattern is in out of the Toronto Public Library and work from it. 

Initially I thought I'd make two of these tams: one for Cauliflower, and one for me. There was enough yarn for two tams and it'd be nice to get all that red yarn finally used up. But then I began to think about what I would wear the red tam with, and when I couldn't seem to imagine it working with any of my coats or outfits, I decided that I was unlikely to ever wear it and therefore shouldn't make it. The rest of the red yarn can remain in my stash until I have a genuine use for it.


Here's the finished tam. Ironically, and exasperatingly, after deciding not to make this hat twice, I did end up knitting it twice, because the first time I made it, I was less than ten rows away from completion when I switched to DPNs and realized that I had knitted the entire thing on the wrong size needles, and that it was too small. Such a stupid error, but it's the kind of bone-headed mistake I make when I'm tired.

This hat took 90 grams of yarn, bringing my total yarn stash decrease for this project to 763 grams.


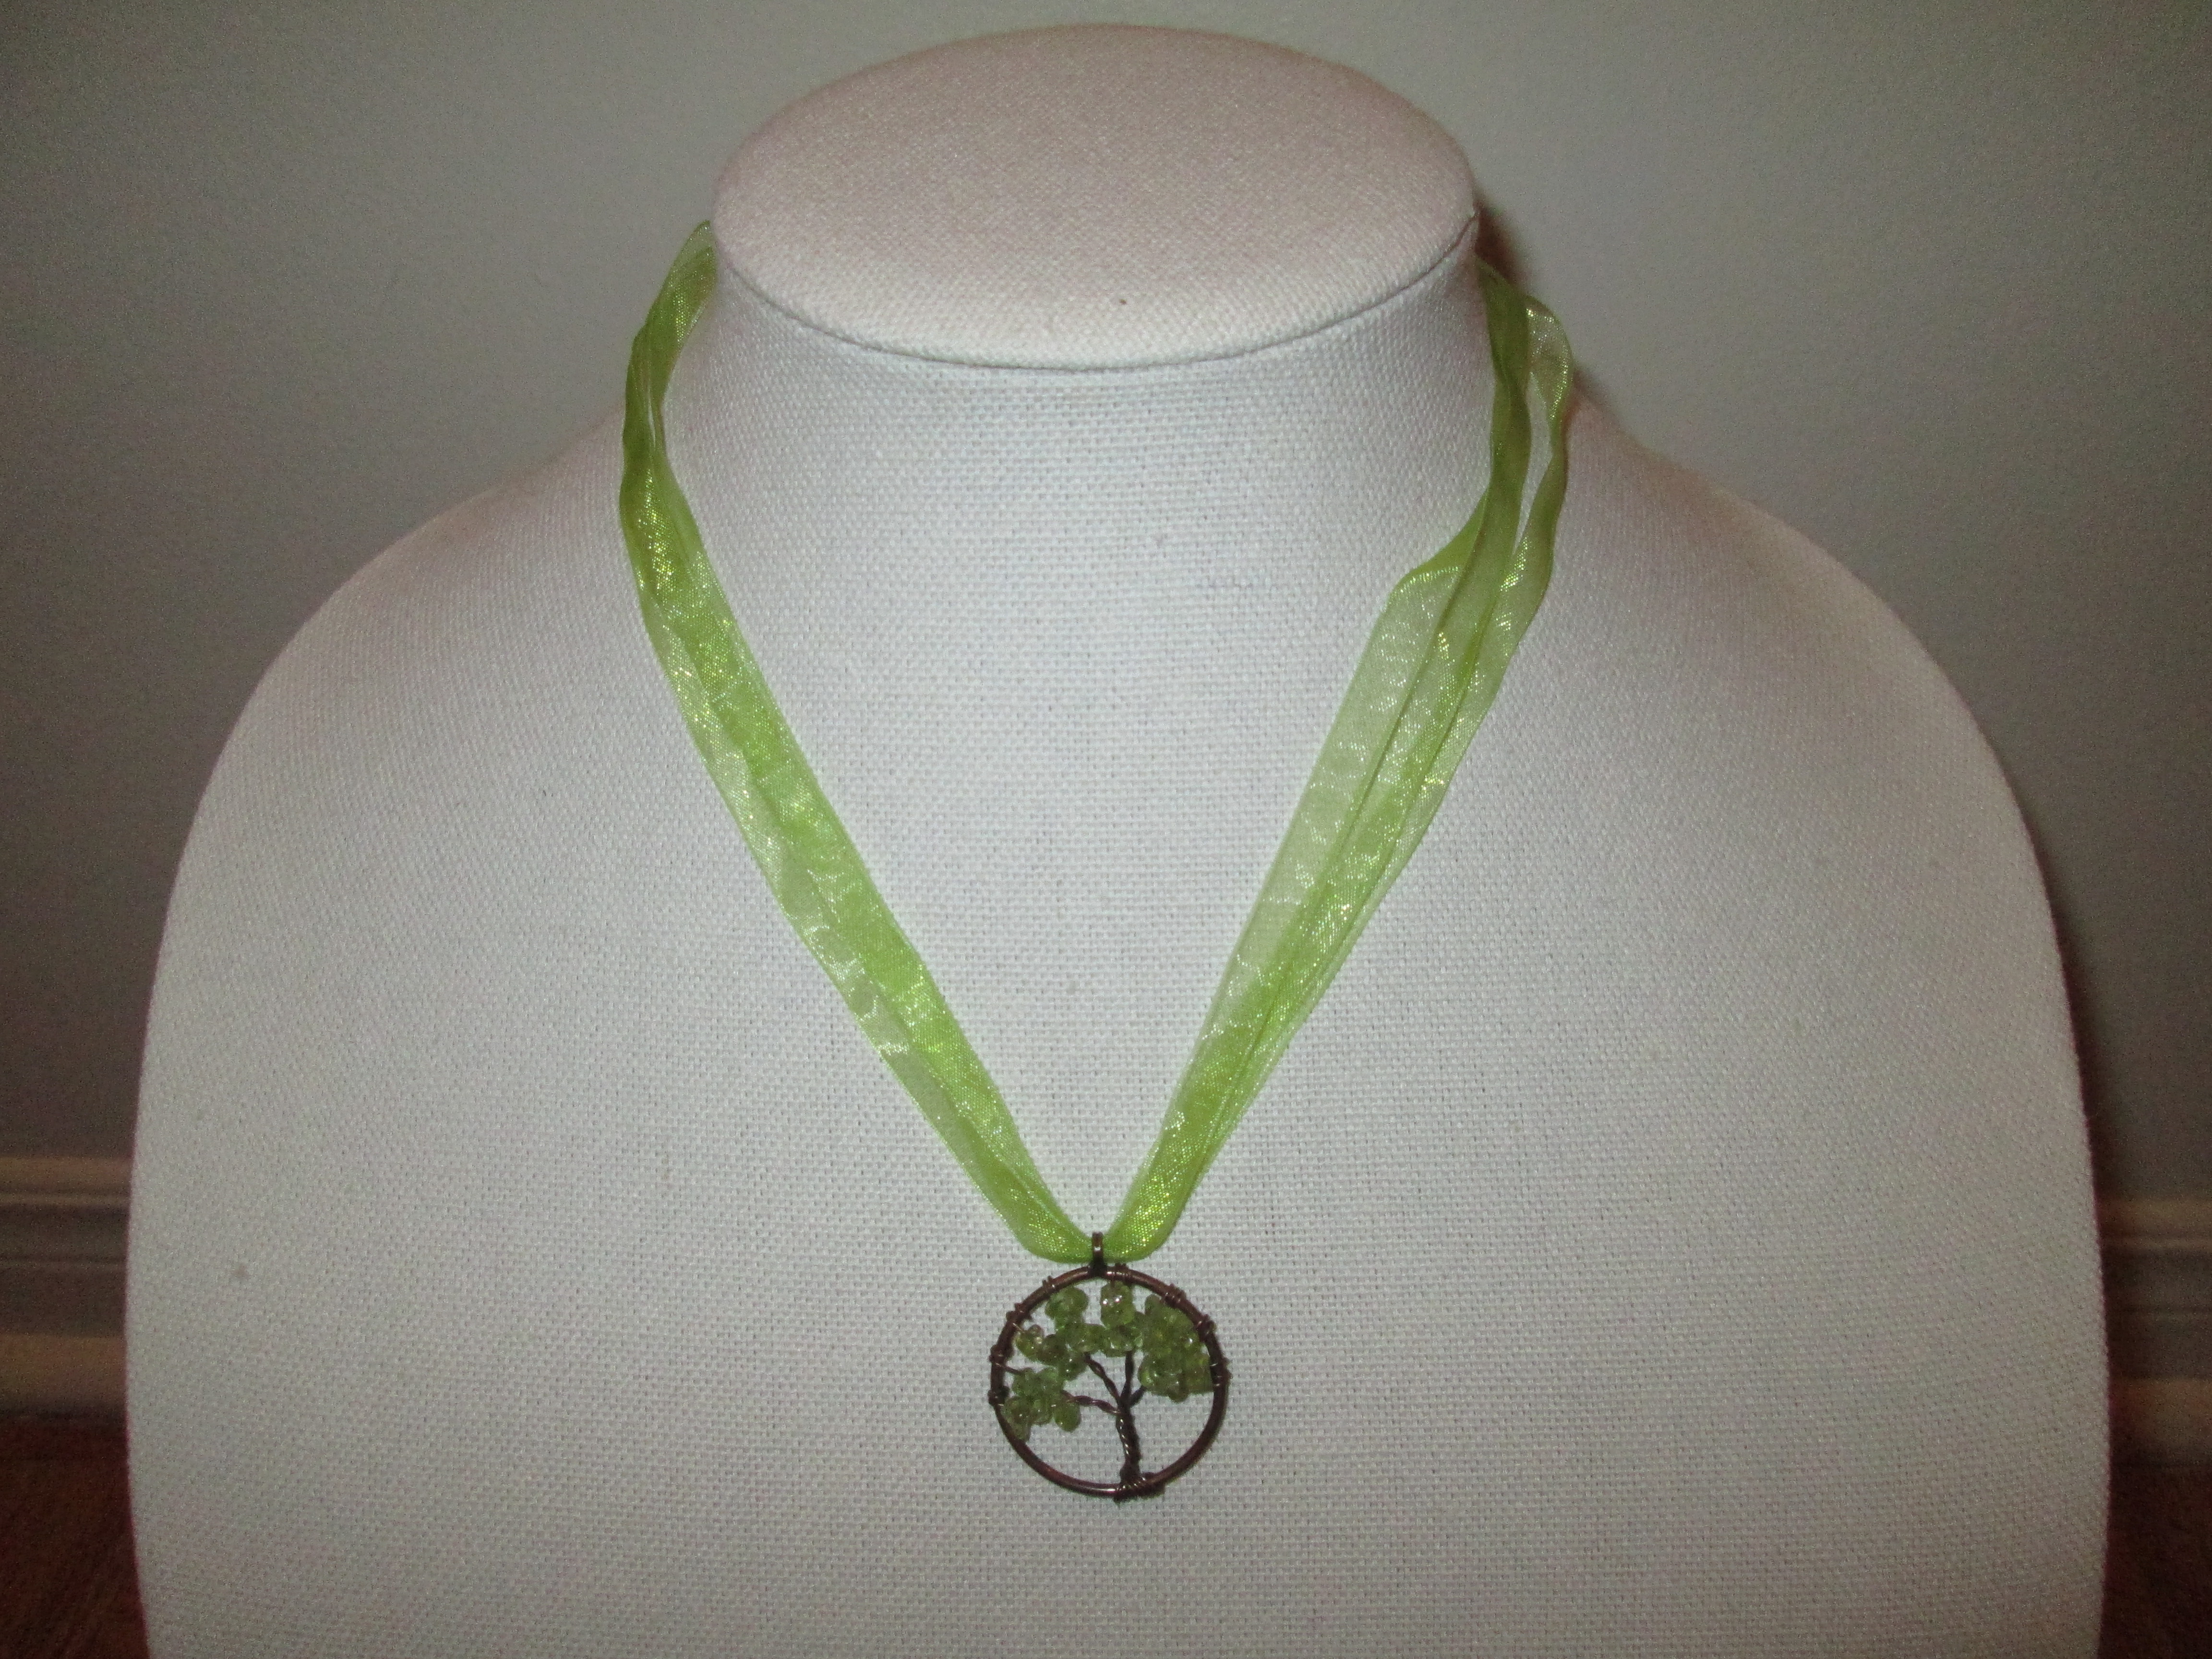
With the sweater and tam set done, I made Cauliflower the owl pendant ribbon necklace you see depicted above, as described in an earlier post. She has a thing for owl stuff, and it seemed like a cute, fun, accessory, suitable for a 14-year-old girl. 


The assembled gift components. I spent nothing at all on the sweater and cap, and very little on the necklace, so I also bought Cauliflower a bottle of Kenzie's "So Pretty" eau de parfum from the Shopper's Drug Mart $20 sale display rack. They didn't have a tester for that kind of perfume, and I'm crossing my fingers it has a nice scent to it.

And I also hope that Cauliflower will find these items useful in the fall, when she begins a new chapter in her life as a brand new high school student. But then classic knitwear, cute jewelry, and smelling pretty never hurt anyone's chances of being a social and academic success.  

Thursday, May 4, 2023

An Owl and a Tree

I recently made the first two ribbon necklaces I have ever made: one for me, one for a gift.


Last year I came across this item in a jewelry display at Value Village, although I think was actually a bookmark. Being that my mother, one of my nieces, and my grandniece are all very into owl stuff, I keep an eye out for nice owl stuff when shopping, and I automatically bought this cute little piece, even though I wasn't sure what I would do with it or whom I would give it to. On the way home I began envisioning the pendant as part of a ribbon necklace. I debated whether the necklace would be for my mother or my grandniece, but soon decided it would go to Cauliflower as part of her fourteenth birthday present, as it seemed more suitable for a young girl. Though my mother will probably threaten to steal it. Life with three owl aficionados in the same family is not without its moments of tension and drama. 


One of Cauliflower's current favourite colours is burgundy, so when I found a piece of burgundy organza ribbon in my ribbon canister (I think it originally came off a wrapped gift someone gave me), I decided it would do for her necklace. I bought metal ends for the ribbon, jump rings, and a magnetic clasp, all in silvertone. When I asked the beading supply store associate about adding a bail to the pendant, he advised against it saying it "would look silly", so I didn't buy one, but then when I was assembling the necklace, the pendant didn't sit right when threaded directly on the ribbon. I compromised by adding a jump ring to the pendant, and running the ribbon through the jump ring. The jump ring is quite unobtrusive and now the pendant sits flat against the chest as it should when worn. 

The necklace isn't very long (just under 16.75"), but it's long enough to be wearable even on me and Cauliflower is quite a bit shorter and smaller than I am, so I think it will do. A big pendant like this one does look better when it sits higher on the chest, where it is visible and well clear of one's neckline.


 The fastening. I do like a magnetic clasp -- so easy to put on and take off.


The second necklace, which is for me. I made a rare impulse purchase of this peridot chip tree of life pendant at a beading supply store on Queen street some years back. It was just a few dollars, peridot is my birthstone and suits me, and it was so pretty. The tree of life symbol has also become a meaningful one to me over the past five years or so, reminding me that I can continue to grow and be productive as I age. 

It has taken me quite some time to get around to buying the components for this necklace, but eventually I purchased a length of narrow, spring green coloured organza ribbon, metal ends for the ribbon, jump rings, and a magnetic clasp. One Sunday in April 2023 I sat down and put this necklace and Cauliflower's necklace together.

For this necklace, I did not need a jump ring for the pendant, as its built-in loop has the right orientation to sit properly on its ribbon. I used three strands of the narrow ribbon to give it a more substantial look, as well as more strength. One strand would have looked far too skimpy. This necklace is 17.5" in length -- having bought the green ribbon for this purpose, I had more to work with than I did with the burgundy one.


The back clasp, which I bought in a copper-tone metal to match the pendant. I do like coordinating the colour of the metal findings with that of the other metals on a necklace. It makes the completed necklace look more polished. 

These ribbon necklace each cost less than $10 to make, and they went together so easily and are so pretty I am definitely open to making more at some point. I can hardly wait to wear mine, or to give Cauliflower hers. 

Wednesday, October 21, 2020

New Jewelry and a New Neck


In August 2020 I made a navy dress with tartan accent cuffs and hem border for my grandniece's 11th birthday. Once it was done I regretted that I hadn't made her a necklace to go with it, and wound up resolving to make her one for Christmas.

My first step was to look in my bead box to see if I had any beads that would go with the dress. I didn't have any beads the right colour, but I did have some silver beads I thought would be useful. I took some of the tartan and navy fabrics to Michaels to get a few strings of beads in coordinating colours. It wasn't easy to match it -- the red of the tartan is an off-beat shade -- and I wasn't excited about what I eventually found, but I did purchase two strings of red beads and one of turquoise that I thought would do. Michaels was having a 40% off sale on all their stringed beads, so that was a help. 

On the same trip, I scored an 18" jewelry neck for 50% off, which was much more satisfying. I'd been wanting one for several years. It will help me make an especially elaborate necklace I have in the works (I'll need to be sure the multi-strands sit properly), and will also be a nice-to-have when it comes to displaying whatever jewelry I make for photographing.   


Here's the necklace... and a pair of matching earrings I whipped up... and the jewelry neck. I'm very meh on the necklace. It's presentable and will go with my grandniece's dress, but it's nothing special. I wish I'd been able to find more interesting beads in the right shade. 

The jewelry neck does elevate it though. Doesn't the necklace look so much better on it than it would lying on a bare surface?


I no longer have the dress, but I did a kind of mock-up by laying a swath of the navy fabric over a piece of the tartan to get a sense of how the necklace will look over it. It goes. 


A close up of the earrings. They're not so bad. I'm still much happier about my new jewelry neck than I am about my handiwork. 

Monday, February 10, 2020

A Valentine Jewelry Set


Carnelian is one of my favourite gemstones (the others being peridot, opal, aquamarine, and turquoise). There's something so warm and satisfying about it. I have an antique carnelian Art Nouveau-style gold ring and a heart-shaped carnelian pendant on a gold chain that I love to wear. Years ago I bought a secondhand necklace of carnelian chips/beads, combined with worn gold-tone beads, online. It was shakily assembled, so I restrung and reworked it slightly with new gold tone beads, but I was never happy with it. I did it a second time with brass-tone beads and still didn't like it much. For its third re-working I decided I'd get rid of all the metal beads and just go with red beads in different sizes and shades. I bought one string of dyed fire agate beads at Michaels with a 55% off coupon, and then a second necklace of varied plastic red beads at Value Village, took both necklaces apart, and went to work. (I thought I took a photo of that thrift shop necklace, but if I did I can't find it.)


And here's the result, which I am quite happy with. These pieces are a mix of carnelian chips, carnelian beads (the larger red beads you see in the necklace and earrings), dyed fire agate beads (the large golden orange beads you see in the necklace and earrings), small red plastic beads (such as the ones in the bracelet), and red plastic seed beads (used as spacer beads).

I love the play of all the shades of red. I like the look of chips separated by spacer beads. I had plenty of beads to work with and liked the necklace, which I made first, so much that I made earrings too, and a week later began thinking that maybe I'd also like a bracelet. I still have more carnelian chips and red beads left, but am out of body parts I'd care to decorate with such pieces.:)

As long as this project took, I now have the perfect pieces to wear on Valentine's Day, and just in time.

Sunday, January 27, 2019

Tween Style Jewelry


My grandniece Cauliflower is due to turn 10 in August 2019. I made her a dress for her ninth birthday last year, which meant she gets a sweater this year, and as I was working on that it occurred to me that it would be nice to make her a necklace and earrings set to go with it, given that she's going to be a tween now, and just got her ears pierced. I made a number of trips to Michaels with my "40% off one item" coupons in hand, and tried to pick out beads and come up with an overall concept that would be suitable for a ten-year-old but not be too twee for her several years down the road -- I wanted her to be able to wear and enjoy this set for a good five years. In the end I bought some floral silver-tone metal beads and some assorted glass Czech beads, and from my existing supplies drew some silver-tone spacer beads, wire, a silver-tone magnetic clasp, lever-back earrings, and headpins. Cauliflower's current favourite colours are blue and turquoise, and they certainly suit her. She has fair skin, blue eyes, and hair that is light brown in winter and blond in summer. I'm pretty sure that (according to seasonal colour theory) she's a summer, and she seems to look best in light, fresh, cool colours. These colours also go well with the cardigan I made for her.


The earrings. I took care to keep them fairly small and light.


The necklace and earrings. The necklace is 17.5" long, which shouldn't be too long on Cauliflower now and won't be too short on her when she's full-grown. I'm pretty well satisfied with how these pieces turned out and am confident that Cauliflower will be too. The effect is young and cute but not so little-girlish that Cauliflower won't be able to wear them until she's 15 or even a little longer, provided she doesn't turn goth in the meantime.

Tuesday, December 25, 2018

The Birthday Necklace That Showed Up at Christmas and Went Out for New Year's Eve


This year for my sister's birthday I decided I'd like to make her a necklace and earrings set. I'd never made a pair of earrings before, but what the hay, it was time I learned. She likes black, so I wanted to make a necklace that was primarily but not wholly black, as too much black gets heavy and funeral-looking very quickly. I find the bead section at Michaels, or any bead store, rather overwhelming, so I did what I usually do: I found a pendant or a string of beads that I love or that at least especially caught my eye, and then built the design around it.


Here's the finished necklace and earrings. I found the pendant first. It's some kind of polished stone. Then I found the glittery beads that I thought echoed the rhinestones around the pendant, and then some plain-ish black beads. The silver bale on the pendant led me to decide on silver spacer beads. And then I learned how to use head pins and clasps to make earrings, and came up with a configuration of beads that pleased me for them. It's not like that's rocket science. I'm pretty pleased with the set -- it even strikes me as rather glam -- and I'm going to give it to my sister for Christmas instead of her (January) birthday so that I'll get to see her open them. Besides, she might want to wear this set out for New Year's Eve.

Once I'd finished making these pieces, I spent some time reorganizing my box of beads, findings, and tools, and thinking about my approach to beading. I don't think I'll ever get very into beading. If there were a way to make decent money selling my jewelry I'd consider it, but beading supplies are too expensive to make competitive pricing possible. It's reasonably cost-efficient to make jewelry for yourself or a gift, but selling handmade jewelry is a different matter because one needs to charge enough to be compensated for the value of the work (and the shopping) involved, and then the resulting price will be too high to attract anyone who might buy it. I plan to keep making jewelry because I do enjoy it, but only when I can justify the cost of a new piece for myself, or need a gift for someone. I've resolved that my beading supplies must continue to fit within the confines of the box I keep them in -- there will be no more impulse buying of beads to use "someday" as I have done sometimes in the past. But I'd like to develop my skills, and I feel I can certainly do so within the parameters I've set for myself. My next jewelry piece will probably be quite an elaborate affair -- for me, that is. All I've made so far is simple one-strand necklaces and this one pair of earrings.

Thursday, October 11, 2018

All That Glitters is Not Gold


For a number of years I've had these brooches sitting in my jewelry box, unworn. I had bought them myself over the internet, and they didn't look as pleasing in reality as they had in their vendors advertisement photos. Eventually I decided that I would like them better if they didn't have that cheesy-looking bright faux gold finish, and wondered if it would be possible for me to paint them. I googled the matter, and what I found reassured me that it was indeed possible.


The first step was to take the cameo brooch and the faux stone brooch apart. That proved surprisingly easy; a little careful pressure and they popped right out.


Then I painted the brooch, using a small, fine paint brush and dollar store silver craft paint for the swan brooch and bronze craft paint for the other two brooches. I think I did two coats on each brooch. Then, once it had dried, I glued the cameo and faux stone back in place. The result was more or less satisfying. I wasn't able to quite kill the gold look of the cameo or faux stone brooch, but I did tone it down considerably. They look less obviously cheap.


I rather liked the silver paint on the swan brooch. The original tone shows through a little, with a highlight effect.